
Step 1: Add your list of accounts
Click on menu option Settings, then on Selector Options and then select the Accounts tab. Add any accounts you would like to use in your invoices. The account number can be anything and is usually used if you will be importing your invoices into an accounts package. If you do hire instruments you will need an account to assign to instrument hire in the next setup section.
Step 2: Customise your invoice
Click on side menu option Settings, then on Invoice setup.
Invoice Header
Use the editor to add any text to your invoice header. Optionally you can also upload an image to display in your invoice header - the image is displayed above the header text. To upload the image click on the Upload Header button (top right of header text editor). Then select your header image file to view it in the preview window. You can drag the image around and resize it for the best fit with the inner (the smaller) rectangular window. Click Upload Image to upload the header image when you are happy with the preview.
You can remove the header image any time by click on the Remove Image button in the upload header image window. The remove image button is only visible once a header image has been uploaded.
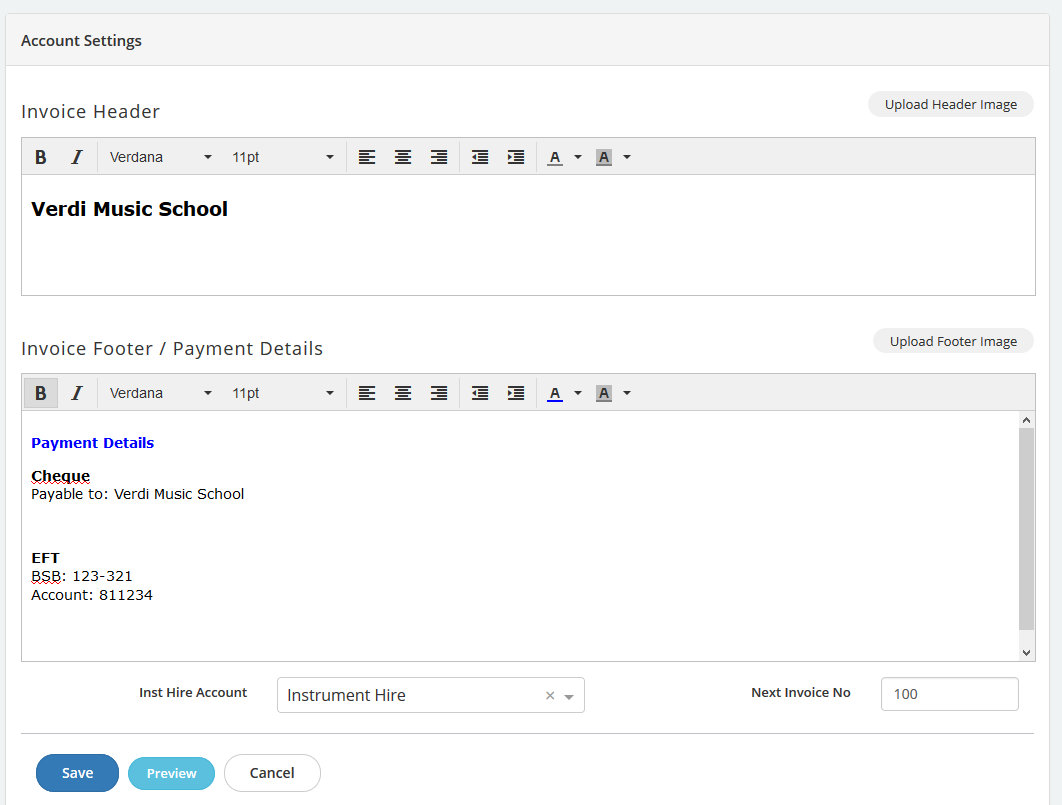
Invoice Footer
Invoice footer is very similar to the header. This is where you could display payment information on the invoice. The invoice footer image is displayed under the footer text. It is a larger image than the header image. The upload process is the same as the header image. Due to the size allowed for the footer image the upload image window will not fit properly on smaller screens or mobile devices.
Next Invoice Number
Enter the number of the next invoice number you would like to use for your invoices. This number will automatically increment after each new invoice is created. You may update this number at any time, but only with a larger number than the current invoice number. (For example if you set this number to 1000 you will not be able to update it later to a value of 990, but will be able to update it to 1010).
Preview
Click the Preview button to see an example of your invoice template, this will allow you to check your header and footer setup. The rest of the data displayed on the invoice is hard coded as an example and will be replaced with your real data when creating invoices. Changes made to the header / footer have to be saved before they will be shown in the preview.